The Ultimate Guide to Early 2009 Mac Pro SSD Sled: Upgrade Your Mac with Solid-State Power
Introduction
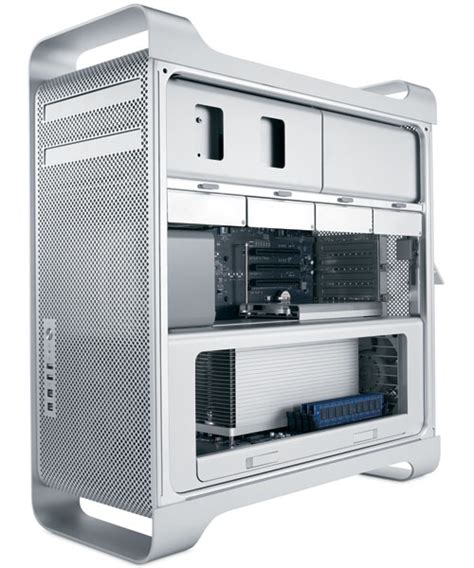
The early 2009 Mac Pro remains a formidable machine even today. However, its storage capabilities can hold it back. Upgrading to a solid-state drive (SSD) is the single most effective way to revitalize your Mac Pro and unlock its full potential. In this comprehensive guide, we will delve into the world of early 2009 Mac Pro SSD sleds, providing you with all the essential information you need to make an informed decision about upgrading your Mac.
What is an SSD Sled?
An SSD sled is an adapter that allows you to install an SSD into your early 2009 Mac Pro. Apple's original design for the Mac Pro included support for traditional hard disk drives (HDDs). However, with the advent of SSDs, a new solution was needed to bridge the gap between the Mac Pro's existing architecture and these new, more advanced storage devices.

Why Upgrade to an SSD?
Upgrading to an SSD in your early 2009 Mac Pro offers numerous advantages:
-
Blazing-fast performance: SSDs are significantly faster than HDDs, offering lightning-fast boot times, application launches, and file transfers.
-
Improved responsiveness: Your Mac will feel more responsive with an SSD. Delays and lag will become a thing of the past.
-
Increased reliability: SSDs are more durable and reliable than HDDs. They are less susceptible to mechanical failures and data loss.
-
Reduced power consumption: SSDs consume less power than HDDs, resulting in longer battery life for laptops.
Choosing an SSD Sled
Selecting the right SSD sled is crucial for a successful upgrade. Here are some factors to consider:
-
Compatibility: Ensure the sled you choose is specifically designed for the early 2009 Mac Pro.
-
Capacity: Choose the capacity of the sled based on your storage needs.
-
Features: Some sleds offer additional features such as TRIM support or hardware encryption.
-
Price: Sleds vary in price depending on their features and capacity.
Common Mistakes to Avoid
To avoid any potential issues during the upgrade process, be sure to steer clear of these common mistakes:
-
Using an incompatible sled: Using a sled that is not designed for the early 2009 Mac Pro can lead to connectivity issues or system instability.
-
Mishandling the SSD: SSDs are sensitive electronic devices. Handle them with care to avoid damaging them.
-
Not formatting the SSD properly: The SSD must be formatted using the appropriate file system for your operating system.
-
Neglecting backups: Always back up your data before performing any hardware upgrades.
Step-by-Step Upgrade Instructions
Upgrading to an SSD with an SSD sled is a relatively straightforward process.
1. Gather your tools
You will need the following tools:
- Phillips screwdriver
- Anti-static wrist strap
- SSD sled
- SSD
-
Trim screws for SSD (if not included with the sled)
2. Prepare your Mac Pro
- Shut down your Mac Pro and unplug it from the power outlet.
- Put on an anti-static wrist strap.
- Remove the side panel of your Mac Pro.
3. Install the SSD into the sled
- Align the SSD with the SATA connector on the sled.
- Secure the SSD to the sled using the trim screws.
4. Install the sled into the Mac Pro
- Locate the HDD/SSD bay in your Mac Pro.
- Insert the sled into the bay and secure it using the screws.
- Connect the SATA cable to the sled.
5. Close up your Mac Pro
- Replace the side panel on your Mac Pro.
- Plug in your Mac Pro and turn it on.
6. Format the SSD
- Boot into your operating system.
- Open Disk Utility.
- Select the SSD in the left sidebar.
- Click on the Erase tab.
- Choose the appropriate file system for your operating system.
- Click on "Erase."
Troubleshooting
If you encounter any issues after upgrading to an SSD, try the following troubleshooting steps:
-
Check the sled connection: Ensure that the sled is securely installed in the Mac Pro and that the SATA cable is properly connected.
-
Verify the SSD formatting: Confirm that the SSD is formatted using the correct file system for your operating system.
-
Contact Apple Support: If you are still experiencing problems, contact Apple Support for assistance.
Interesting Stories and What We Learn
-
The Case of the Missing Sled: A user attempted to upgrade their early 2009 Mac Pro with an SSD but realized that their sled was missing. Undeterred, they MacGyvered a solution by using double-sided tape to secure the SSD directly to the Mac Pro's motherboard. While not the most elegant solution, it proved to be effective.
Lesson: Necessity is the mother of invention.

-
The Tale of the Oversized SSD: Another user purchased an SSD sled for their early 2009 Mac Pro and proceeded to install the largest SSD they could find. However, when they booted up their Mac Pro, only a fraction of the SSD's capacity was available. It turned out that the sled only supported SSDs of a certain size.
Lesson: Check the sled's compatibility before purchasing an SSD.
-
The Mystery of the Blue Screen: A third user encountered a blue screen of death after upgrading their early 2009 Mac Pro with an SSD sled. After consulting with Apple Support, they discovered that their Mac Pro had a faulty SATA controller. Replacing the controller resolved the issue.
Lesson: Hardware upgrades can sometimes uncover underlying hardware problems.
Useful Tables
Comparison of SSD Sled Brands
| Brand |
Capacity Range |
Features |
Price Range |
| OWC |
256GB - 4TB |
TRIM support, hardware encryption |
$30 - $150 |
| Transcend |
128GB - 1TB |
Economical, 3-year warranty |
$20 - $80 |
| Crucial |
256GB - 2TB |
Fast performance, Micron NAND |
$40 - $120 |
SSD Speed Comparison
| Interface |
Sequential Read (MB/s) |
Sequential Write (MB/s) |
| SATA III |
Up to 600 |
Up to 500 |
| NVMe |
Up to 3500 |
Up to 3000 |
| PCIe 4.0 |
Up to 7000 |
Up to 6000 |
SSD Capacity and Price Comparison
| Capacity |
Average Price |
| 256GB |
$50 - $70 |
| 512GB |
$70 - $100 |
| 1TB |
$100 - $150 |
| 2TB |
$200 - $300 |
Conclusion
By upgrading your early 2009 Mac Pro with an SSD and the appropriate sled, you can breathe new life into your beloved machine. With faster boot times, improved application performance, and increased reliability, you will be amazed at the transformation that an SSD brings. Remember to choose the right sled, avoid common mistakes, and follow the step-by-step upgrade instructions carefully. With a little research and preparation, you can easily upgrade your Mac Pro and enjoy the benefits of solid-state performance.
